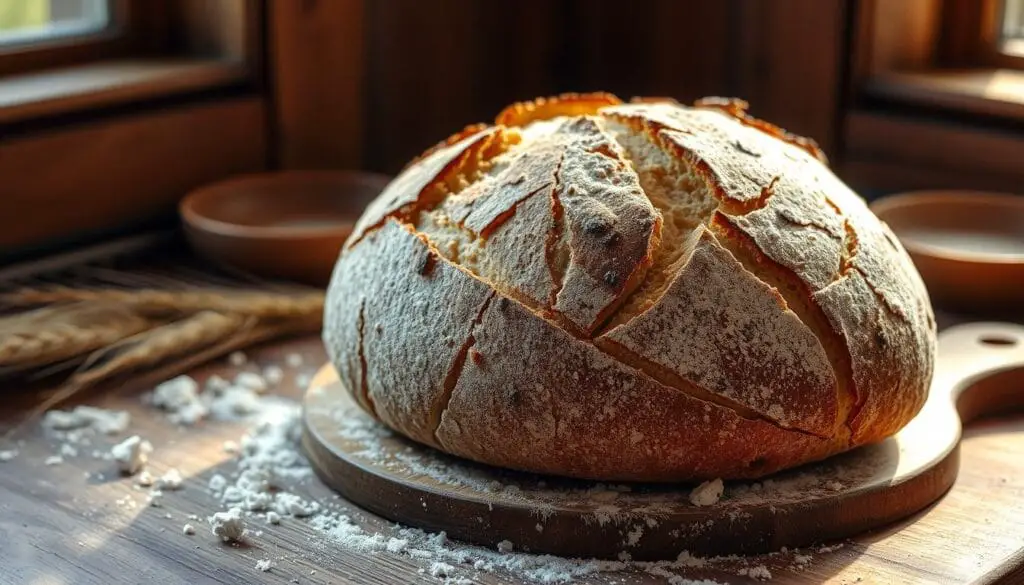
Get ready for a fun baking adventure with this no-knead sourdough bread recipe. It makes two loaves of crusty, artisan bread. The bread is soft and has a tangy taste.
The dough is mixed one day and baked the next. This lets the sourdough starter work its magic. It makes the bread taste and feel better.
This recipe is easy but makes amazing bread. It’s great for both new and experienced bakers. It’s perfect for impressing others or enjoying a homemade treat.
Key Takeaways
- This no-knead sourdough bread recipe yields two crusty, artisanal loaves with a soft, tangy texture.
- The dough is mixed one day and baked the next, allowing the sourdough starter to develop deep flavor.
- The recipe requires minimal effort yet delivers bakery-worthy results, making it suitable for both novice and experienced bakers.
- The recipe produces a satisfying, homemade sourdough bread that can be enjoyed by friends, family, and yourself.
- The use of a sourdough starter adds a unique tangy flavor to the bread, elevating the overall taste and texture.
Understanding no-knead Sourdough Bread Basics
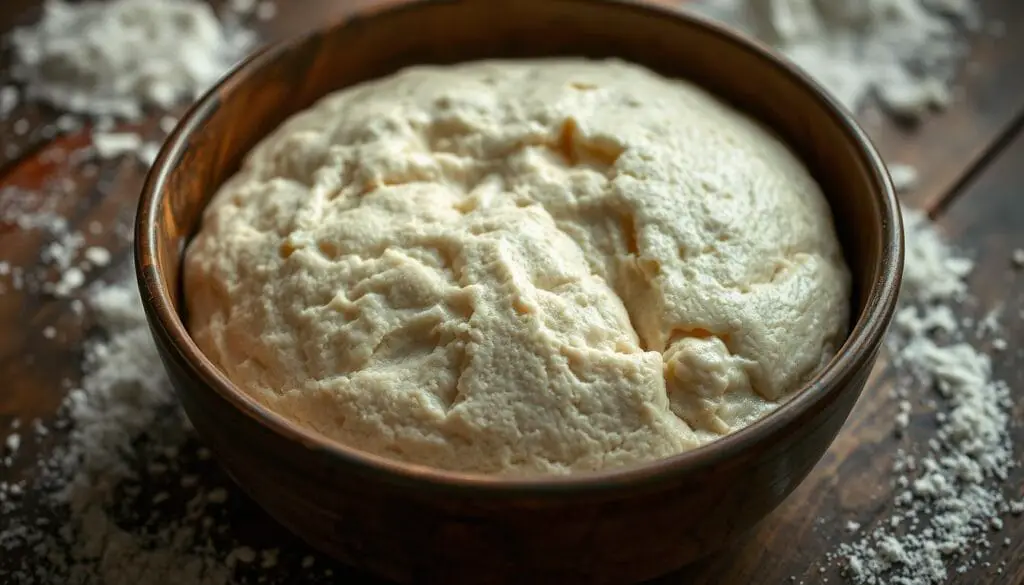
Sourdough bread is special, unlike regular bread. It uses natural wild yeast for flavor and health. This slow fermentation makes it tastier and more nutritious.
What Makes Sourdough Different
The making of sourdough bread is slow and careful. Wild yeast and bacteria break down phytic acid. This makes the bread easier to digest and more nutritious.
Benefits of No-Knead Method
The no-knead method changes sourdough baking. It uses stretches and folds instead of kneading. This creates a light, airy loaf without hard work.
The Science Behind Fermentation
Fermentation is key to sourdough bread. Wild yeast and bacteria turn flour into carbon dioxide and lactic acid. This process gives the bread its tang and a better texture.
“The fermentation process in sourdough bread is a delicate dance, where wild yeast and bacteria work in harmony to create a truly remarkable loaf.”
Essential Ingredients for Perfect No-Knead Sourdough Bread
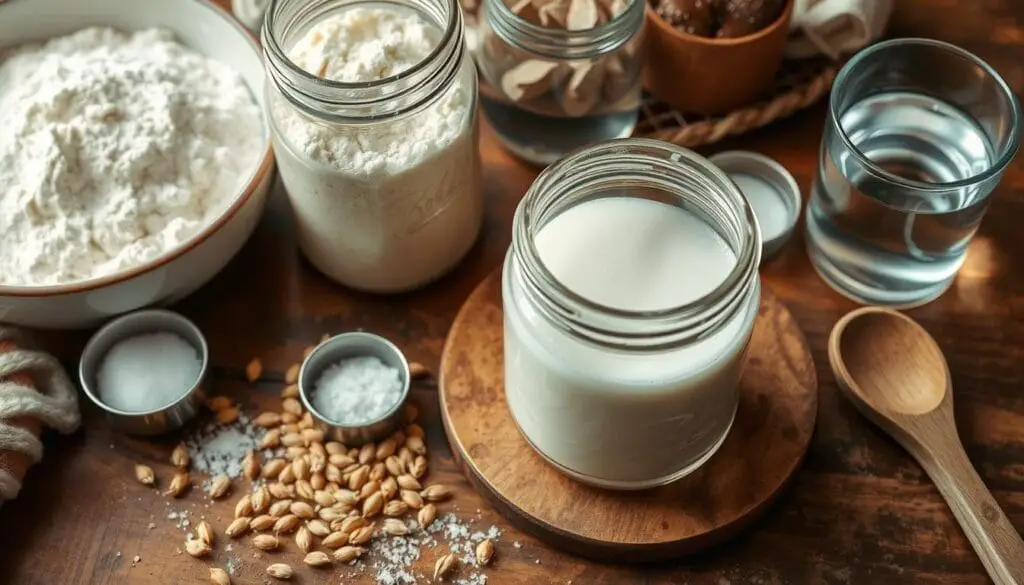
Making the perfect no-knead sourdough bread starts with the right ingredients. The quality and balance of these ingredients are key for the right texture, flavor, and rise. Let’s look at the essential ingredients for a remarkable sourdough.
You’ll need high-quality bread flour or all-purpose flour first. These flours help the bread rise and keep its shape. Adding a bit of whole wheat flour gives a nutty taste and more nutrition.
Water is also crucial. The water-to-flour ratio affects the dough’s hydration, which changes the texture and crumb. Getting this ratio right is important for perfect no-knead sourdough.
Sea salt is a must for sourdough. It boosts the bread’s flavor and helps control the fermentation. This is important for the ripe sourdough starter.
The sourdough starter is the bread’s heart. A lively, ripe sourdough starter gives the bread its leavening power and tangy taste.
“The quality of your sourdough bread starts with the quality of your sourdough starter. Nurture it well, and it will reward you with exceptional loaves every time.”
Choosing and mixing these ingredients well prepares you for baking a stunning no-knead sourdough. With the right flours, water, salt, and sourdough starter, you’re ready to master no-knead sourdough baking.
Required Tools and Equipment
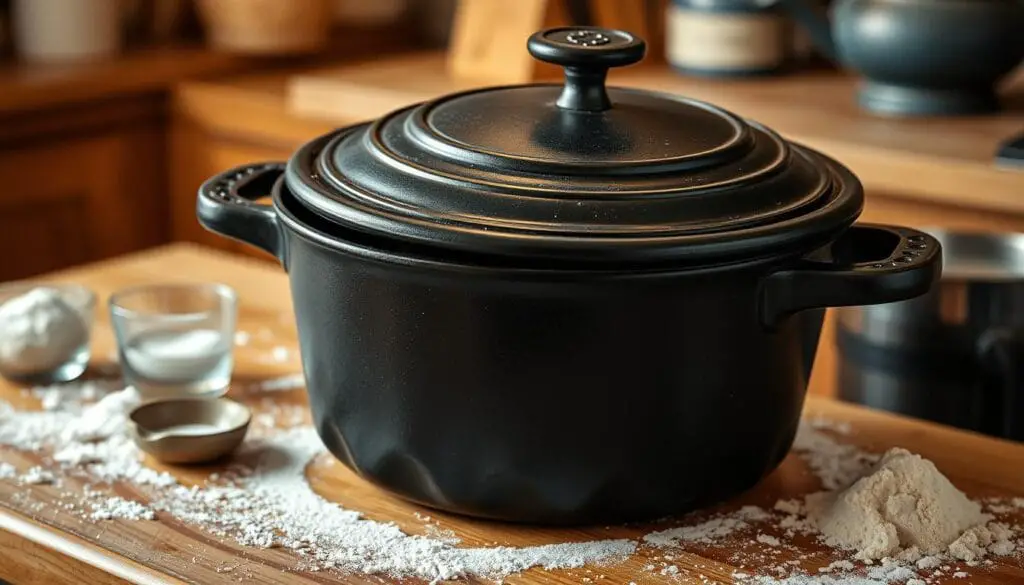
Making sourdough bread at home needs some key tools and equipment. From baking vessels to measuring tools, the right gear is crucial. It makes a big difference in your baking journey.
Baking Vessels and Dutch Ovens
A good baking vessel is essential for a perfect crust and crumb. A dutch oven is great because it creates steam. This steam helps make a crisp exterior. You can also use a baking stone or a bread cloche for similar results.
Measuring Tools and Accessories
Getting your measurements right is key to sourdough success. You’ll need a kitchen scale to weigh your ingredients. This ensures your results are consistent and accurate. A proofing basket (or banneton) helps shape your dough and promotes even rising.
Optional but Helpful Equipment
- A bread lame or sharp knife for scoring the dough before baking
- A pizza peel or baking sheet to transfer the dough to and from the oven
- Parchment paper to line the proofing basket and the baking vessel
With the right tools and equipment, you’re on your way to mastering sourdough bread baking. The journey is as important as the final product.
Preparing Your Sourdough Starter
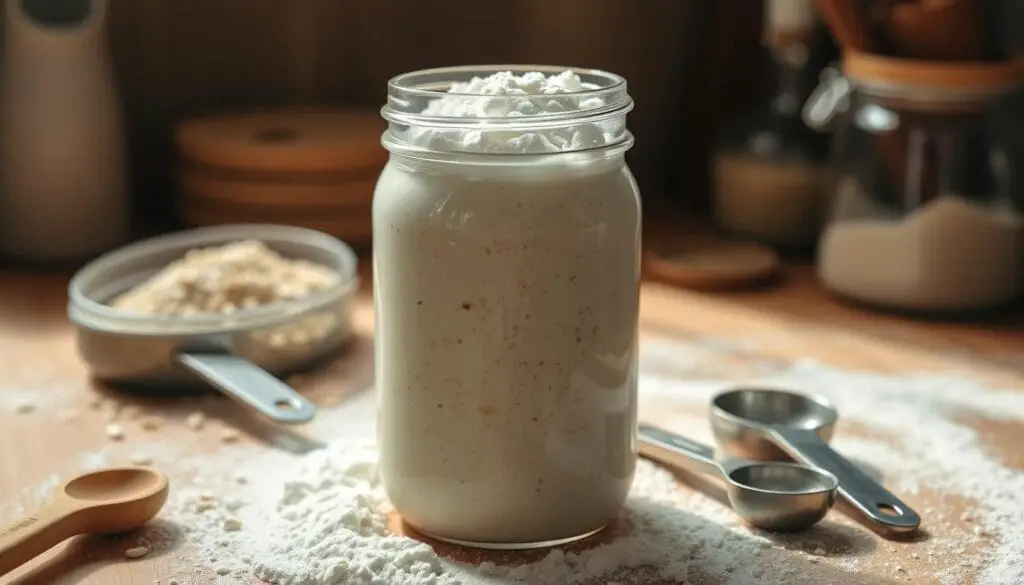
To bake a great no-knead sourdough bread, start with a healthy sourdough starter. Feed it 4-12 hours before mixing the dough. This makes the sourdough starter bubbly and full of yeast, ready to start the fermentation.
The recipe needs 153g of ripe sourdough starter at 100% hydration. This means it has equal parts flour and water. Keeping your active starter in top shape is crucial for a delicious loaf.
Feeding Your Sourdough Starter
- Take out half of your sourdough starter from the jar.
- Add equal parts (by weight) of fresh flour and warm water to the rest. For example, if you have 50g of starter, add 50g flour and 50g water.
- Stir well to mix air and ensure the starter feeding is combined.
- Cover the jar and let it sit at room temperature for 4-12 hours. Wait until it’s bubbly and active.
When your sourdough starter is ready, mix the no-knead sourdough dough. A mature and active starter is key for a great rise and flavor in your homemade bread.
“A well-fed, active sourdough starter is the heart and soul of a delicious no-knead sourdough bread.”
No-Knead Sourdough Bread: The Master Recipe
Making no-knead sourdough bread is easy and rewarding. The key is the autolyse technique. It lets the dough soak up water and develop gluten naturally, skipping the hard kneading.
Start by mixing bread flour, water, and sourdough starter in a big bowl. Let it rest for 30 minutes. This step helps the flour soak up the water well.
Then, add salt and any extra water. Mix everything by hand until it’s well combined. This recipe makes 1,600g of dough, with a 68.0% hydration level. You can make a single loaf by halving the recipe.
| Ingredient | Amount |
|---|---|
| Bread Flour | 1,000g |
| Water | 680g |
| Sourdough Starter | 200g |
| Salt | 20g |
After mixing, put the dough in a big container for bulk fermentation. This step enhances the dough’s flavor and makes it light and airy. With patience and attention, you’ll bake a beautiful no-knead sourdough loaf.
Understanding Dough Hydration Levels
Creating the perfect no-knead sourdough bread starts with knowing dough hydration. The water in your dough affects the texture, rise, and quality of the loaf.
Calculating Water-to-Flour Ratio
This no-knead sourdough recipe has a 68.0% dough hydration level. This is a medium hydration. It means you use about 68 grams of water for every 100 grams of flour. Getting this balance right is key for the right consistency and rise.
Adjusting for Different Flour Types
- Different flours, like all-purpose, bread, or whole wheat, absorb water differently. You might need to change the water-to-flour ratio for your flour.
- Whole wheat flour, for example, needs more water because of its higher bran and germ content. You might need to adjust the hydration level for your flour blend.
In this recipe, water is added in two stages. First, 537 grams during the autolyse process, and then 43 grams during the final mix. This two-step method ensures the dough is well-hydrated and developed. It leads to a light and well-structured loaf.
| Flour Type | Typical Hydration Range |
|---|---|
| All-Purpose Flour | 60-75% |
| Bread Flour | 65-80% |
| Whole Wheat Flour | 70-85% |
“Mastering the water-to-flour ratio is the key to unlocking the perfect texture and rise in your sourdough bread.”
The Autolyse Process Explained
Learning to bake sourdough bread begins with the autolyse technique. This step is crucial for the texture and taste of your bread. Let’s explore how autolyse enhances your sourdough baking.
The autolyse technique mixes flour, water, and sourdough starter. Then, it rests for about 30 minutes before continuing with the dough. This resting time is key for two reasons:
- It hydrates the flour, starting gluten development.
- It activates flour enzymes, improving dough extensibility and flavor.
Autolyse helps create a dough that’s easy to shape and has a complex flavor. This results in a bread with an open crumb and a chewy texture.
| Benefit | Explanation |
|---|---|
| Improved Gluten Development | The autolyse process kickstarts gluten development, leading to a more extensible and well-structured dough. |
| Enhanced Dough Extensibility | The autolyse activates enzymes in the flour, making the dough more pliable and easier to shape. |
| Better Flavor Development | The resting period allows for improved enzymatic activity, resulting in a more complex and nuanced flavor profile. |
Using the autolyse technique in your sourdough baking unlocks your dough’s full potential. You’ll make loaves that rival those from a bakery, all from your kitchen.
Mastering the Stretch and Fold Technique
Creating a strong gluten network is key for perfect no-knead sourdough bread. The stretch and fold method helps achieve this without kneading. It builds dough strength and improves your loaf’s structure during bulk fermentation.
Proper Hand Movements
To start, lift one dough side and stretch it up, then fold it to the center. Do the same on the other side, and then the last two. Move your hands firmly but gently to avoid dough tears. This aligns gluten strands and strengthens the dough.
Timing Between Folds
- Do the first two stretches and folds every 15 minutes.
- Then, do two more at 30-minute intervals.
- The first three sets should stretch vigorously to build the gluten network.
- For the last set, fold gently to preserve dough strength.
This pattern of stretch and fold builds the stretch and fold in the dough. It leads to a light, airy crumb.
“The stretch and fold technique is a game-changer for creating a strong, pliable gluten network in no-knead sourdough bread.”
| Fold Sequence | Timing | Intensity |
|---|---|---|
| First two sets | 15-minute intervals | Vigorous stretching |
| Last two sets | 30-minute intervals | Gentle stretching |
Bulk Fermentation Guidelines
The bulk fermentation stage is key in making no-knead sourdough bread. It’s when the dough slowly rises, becoming bubbly and elastic. To get the best results, knowing the right steps is crucial.
This stage usually lasts about 3 1/2 hours at 74-76°F (23-24°C). This time lets the dough develop rich flavors and a great crumb. The temperature and starter maturity can change the needed time.
As the dough rises, it gets more airy and puffy. This shows the bulk fermentation is going well. It’s important to wait patiently. Longer fermentation time means a more flavorful dough rise.
| Characteristic | Ideal Observation |
|---|---|
| Dough Volume | Rises considerably, becoming bubbly and smooth |
| Dough Texture | Elastic and easy to stretch without tearing |
| Fermentation Time | Approximately 3 1/2 hours at 74-76°F (23-24°C) |
The bulk fermentation stage is about finding the right balance. By watching your dough and following these tips, you’ll make a beautiful no-knead sourdough loaf.
Shaping Your Sourdough Loaf
Learning to shape dough is key to making the perfect sourdough loaf. Shaping not only changes the loaf’s look but also its texture and structure. We’ll explore the steps to get that bakery-quality loaf.
Pre-shaping Techniques
Before the final shape, pre-shaping is crucial. It builds the dough’s gluten and gets it ready for the final form. Here’s how to pre-shape:
- Gently turn the dough out onto a lightly floured surface, being careful not to de-gas the dough.
- Divide the dough into two equal pieces using a dough scraper or knife.
- Gently shape each piece into a loose round, or boule, by tucking the edges under to create tension on the surface.
- Allow the pre-shaped dough to rest for 30 minutes, covered, to relax the gluten.
Final Shaping Methods
Now, it’s time to shape your dough into its final form. The secret to great dough shaping is a light touch and gentle movements. Here’s how to shape your sourdough loaf:
- Gently transfer the pre-shaped dough onto a lightly floured surface.
- Use your hands to carefully shape the dough into a tight boule by tucking the edges under and creating surface tension.
- For added texture and flavor, roll the top of the shaped dough in coarse wheat bran, rolled oats, or sesame seeds.
- Carefully transfer the shaped dough, seam-side up, into your prepared proofing basket or Dutch oven.
By mastering these bread shaping techniques, you’ll be well on your way to baking beautiful, artisanal-style sourdough loaves in your own kitchen.
Scoring Patterns and Techniques
Scoring your sourdough bread before baking is key. It lets the dough expand evenly and looks great. There are many scoring patterns and techniques to try.
The “box cut” is a favorite for many. It makes a square or rectangle on the dough with a cross in the middle. This pattern is not only beautiful but also helps the dough expand evenly.
To get a perfect box cut, use a sharp bread lame or razor. Dust the dough lightly with flour first. Then, make a straight cut across, followed by a cut at a right angle to form the “X” shape.
There are many other scoring patterns to explore, like parallel lines or intricate designs. The goal is to find a pattern that fits your loaf’s shape and size. It should also help the crust develop well during baking.
Scoring bread is a journey of trying new things. Don’t hesitate to experiment with different techniques. You’ll find the perfect method for your sourdough bread soon.
Baking Temperature and Timing
Getting the right baking temperature and timing is key for a tasty bread crust. The Dutch oven method is the secret to success.
Heat your Dutch oven to 450°F (230°C). Place your dough in it, cover, and bake for 20 minutes. This step traps steam, making the crust crisp and beautiful.
Steam Generation Methods
The Dutch oven acts like a pro oven, creating steam at home. As the dough heats, it turns to steam. This steam condenses on the lid, then falls back on the bread. This makes your bread crust perfect.
Crust Development Stages
- The first 20 minutes help the crust set and grow.
- Then, remove the lid and bake for 30-35 minutes more.
- The crust will get browner and crunchier as it’s exposed to heat.
- Watch it closely, adjusting time and temperature for the perfect crust.
Your no-knead sourdough should be 205-210°F (96-99°C) when done. This ensures a soft, airy inside and a crunchy bread crust.
Cooling and Storage Methods
Once you’ve baked your no-knead sourdough bread, it’s time to cool and store it right. These steps help keep the bread fresh, with great texture and taste.
Let the bread cool on a wire rack for at least 2 hours before slicing. This step is key to avoid a gummy or doughy texture. Rushing it can ruin the bread’s feel and taste.
For short-term storage, use a paper bag or a breathable bread box at room temperature. This keeps the bread fresh for up to a week, as long as it’s not too humid. Don’t store it in an airtight container, as it can get moldy and lose its crisp crust.
To keep your sourdough longer, slice it and freeze the slices. They can stay good for months when frozen right. Just thaw them at room temperature or warm them in the oven to get that fresh, crispy crust again.
| Cooling Method | Storage Duration | Storage Conditions |
|---|---|---|
| Cool on wire rack for 2 hours | Up to 1 week | Paper bag or bread box at room temperature |
| Slice and freeze | Up to 3 months | Properly wrapped in airtight packaging |
By cooling and storing your sourdough bread correctly, you can enjoy it for days. It will stay fresh, textured, and flavorful, making every bite a delight.
Conclusion
Learning to bake artisan bread with no-knead sourdough techniques is easy and rewarding. It’s a mix of simple steps and patience that leads to amazing homemade bread. You can make crusty, tasty loaves with just a little effort, giving you a bakery feel at home.
With practice, you’ll get better at making this special bread. You’ll learn about fermentation and how to shape and score your dough. This will help you make sourdough loaves that impress everyone.
The journey of making no-knead sourdough bread is full of discovery and joy. It’s a chance to enjoy the smell, feel, and taste of artisan bread baking right in your kitchen.
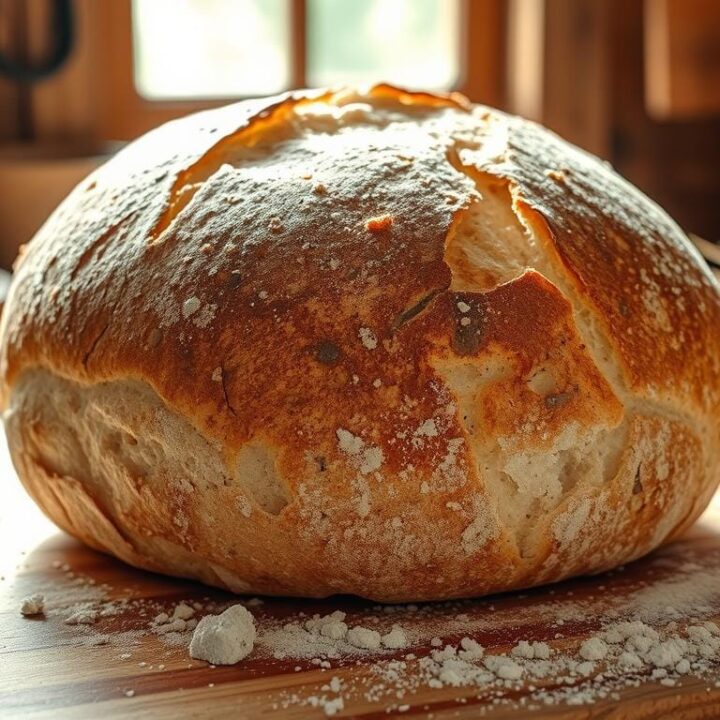
No-Knead Sourdough Bread
An easy recipe for no-knead sourdough bread that produces two crusty, tangy loaves with minimal effort, perfect for bakers of all levels.
Ingredients
- 1,000g bread flour
- 680g water
- 200g sourdough starter (100% hydration)
- 20g sea salt
Instructions
- Mix IngredientsCombine bread flour, water, and sourdough starter in a large bowl. Let rest for 30 minutes.
- Add Salt and WaterAdd salt and remaining water. Mix until well combined.
- Bulk FermentationTransfer dough to a large container and let rise for 3 1/2 hours at 74-76°F (23-24°C).
- Stretch and FoldPerform 4 sets of stretch and folds at 15-minute intervals, then 30-minute intervals.
- Shape DoughDivide dough into two, pre-shape into rounds, let rest for 30 minutes, then shape into tight boules.
- ProofTransfer shaped dough to proofing baskets or Dutch oven, seam-side up.
- ScoreScore dough with a sharp blade or bread lame.
- Preheat Dutch OvenHeat Dutch oven to 450°F (230°C).
- Bake CoveredPlace dough in Dutch oven, cover, and bake for 20 minutes.
- Bake UncoveredRemove lid and bake for 30-35 minutes more.
- CoolLet bread cool on a wire rack for 2 hours before slicing.
- StoreStore bread in a paper bag or bread box at room temperature for up to a week.
Nutrition Information:
Yield: 2 Serving Size: 1Amount Per Serving: Calories: 1984Total Fat: 9gSaturated Fat: 1gTrans Fat: 0gUnsaturated Fat: 5gCholesterol: 0mgSodium: 3902mgCarbohydrates: 400gFiber: 15gSugar: 2gProtein: 66g
FAQ
What makes sourdough bread different from other bread?
Sourdough bread uses natural wild yeast for rising, not commercial yeast. This gives it a tangy taste and a chewy texture.
What are the benefits of the no-knead method for making sourdough bread?
The no-knead method uses stretching and folding to build gluten. This makes the bread airy without kneading.
How does the fermentation process affect the nutritional value of sourdough bread?
Fermentation breaks down phytic acid, making nutrients easier to absorb. This makes sourdough bread healthier than regular bread.
What type of flour works best for this no-knead sourdough recipe?
Use a mix of bread flour, all-purpose flour, and whole wheat flour. This blend offers great texture and flavor, with whole wheat adding nutrition.
What essential tools and equipment are needed for baking no-knead sourdough bread?
You’ll need a big mixing bowl, a kitchen scale, and a Dutch oven. A banneton, pizza peel, parchment paper, and bread lame are also helpful.
How do I ensure my sourdough starter is ready to use in the recipe?
Feed your starter 4-12 hours before baking. A ripe starter is key for good leavening and flavor.
What is the purpose of the autolyse step in this recipe?
Autolyse mixes flour, water, and starter, then rests for 30 minutes. It hydrates the flour and starts gluten and enzyme activity, making the dough easier to shape.
How do the stretch and fold techniques help develop the gluten structure?
Four stretches and folds during bulk fermentation build gluten. The first three are vigorous, and the last is gentle, smoothing the dough.
How can I determine the optimal hydration level for my no-knead sourdough bread?
This recipe uses 68.0% hydration, a medium level. But, flour types can affect water absorption. You might need to adjust for the right dough consistency.
Why is scoring the dough before baking important?
Scoring the dough with a sharp blade or bread lame helps it expand evenly. It also makes the bread look artisanal. Dusting with flour before scoring makes the pattern clearer.


